
Working with Elements
Elements turn a useful visual detail into reusable production knowledge. A pair of boots, a vehicle, a species, or a piece of architecture can be more than an image in a gallery: it can have a type, a specification, versions, approved visual roles, a source asset, and known uses across the world.
1. Start from an upload or an existing asset
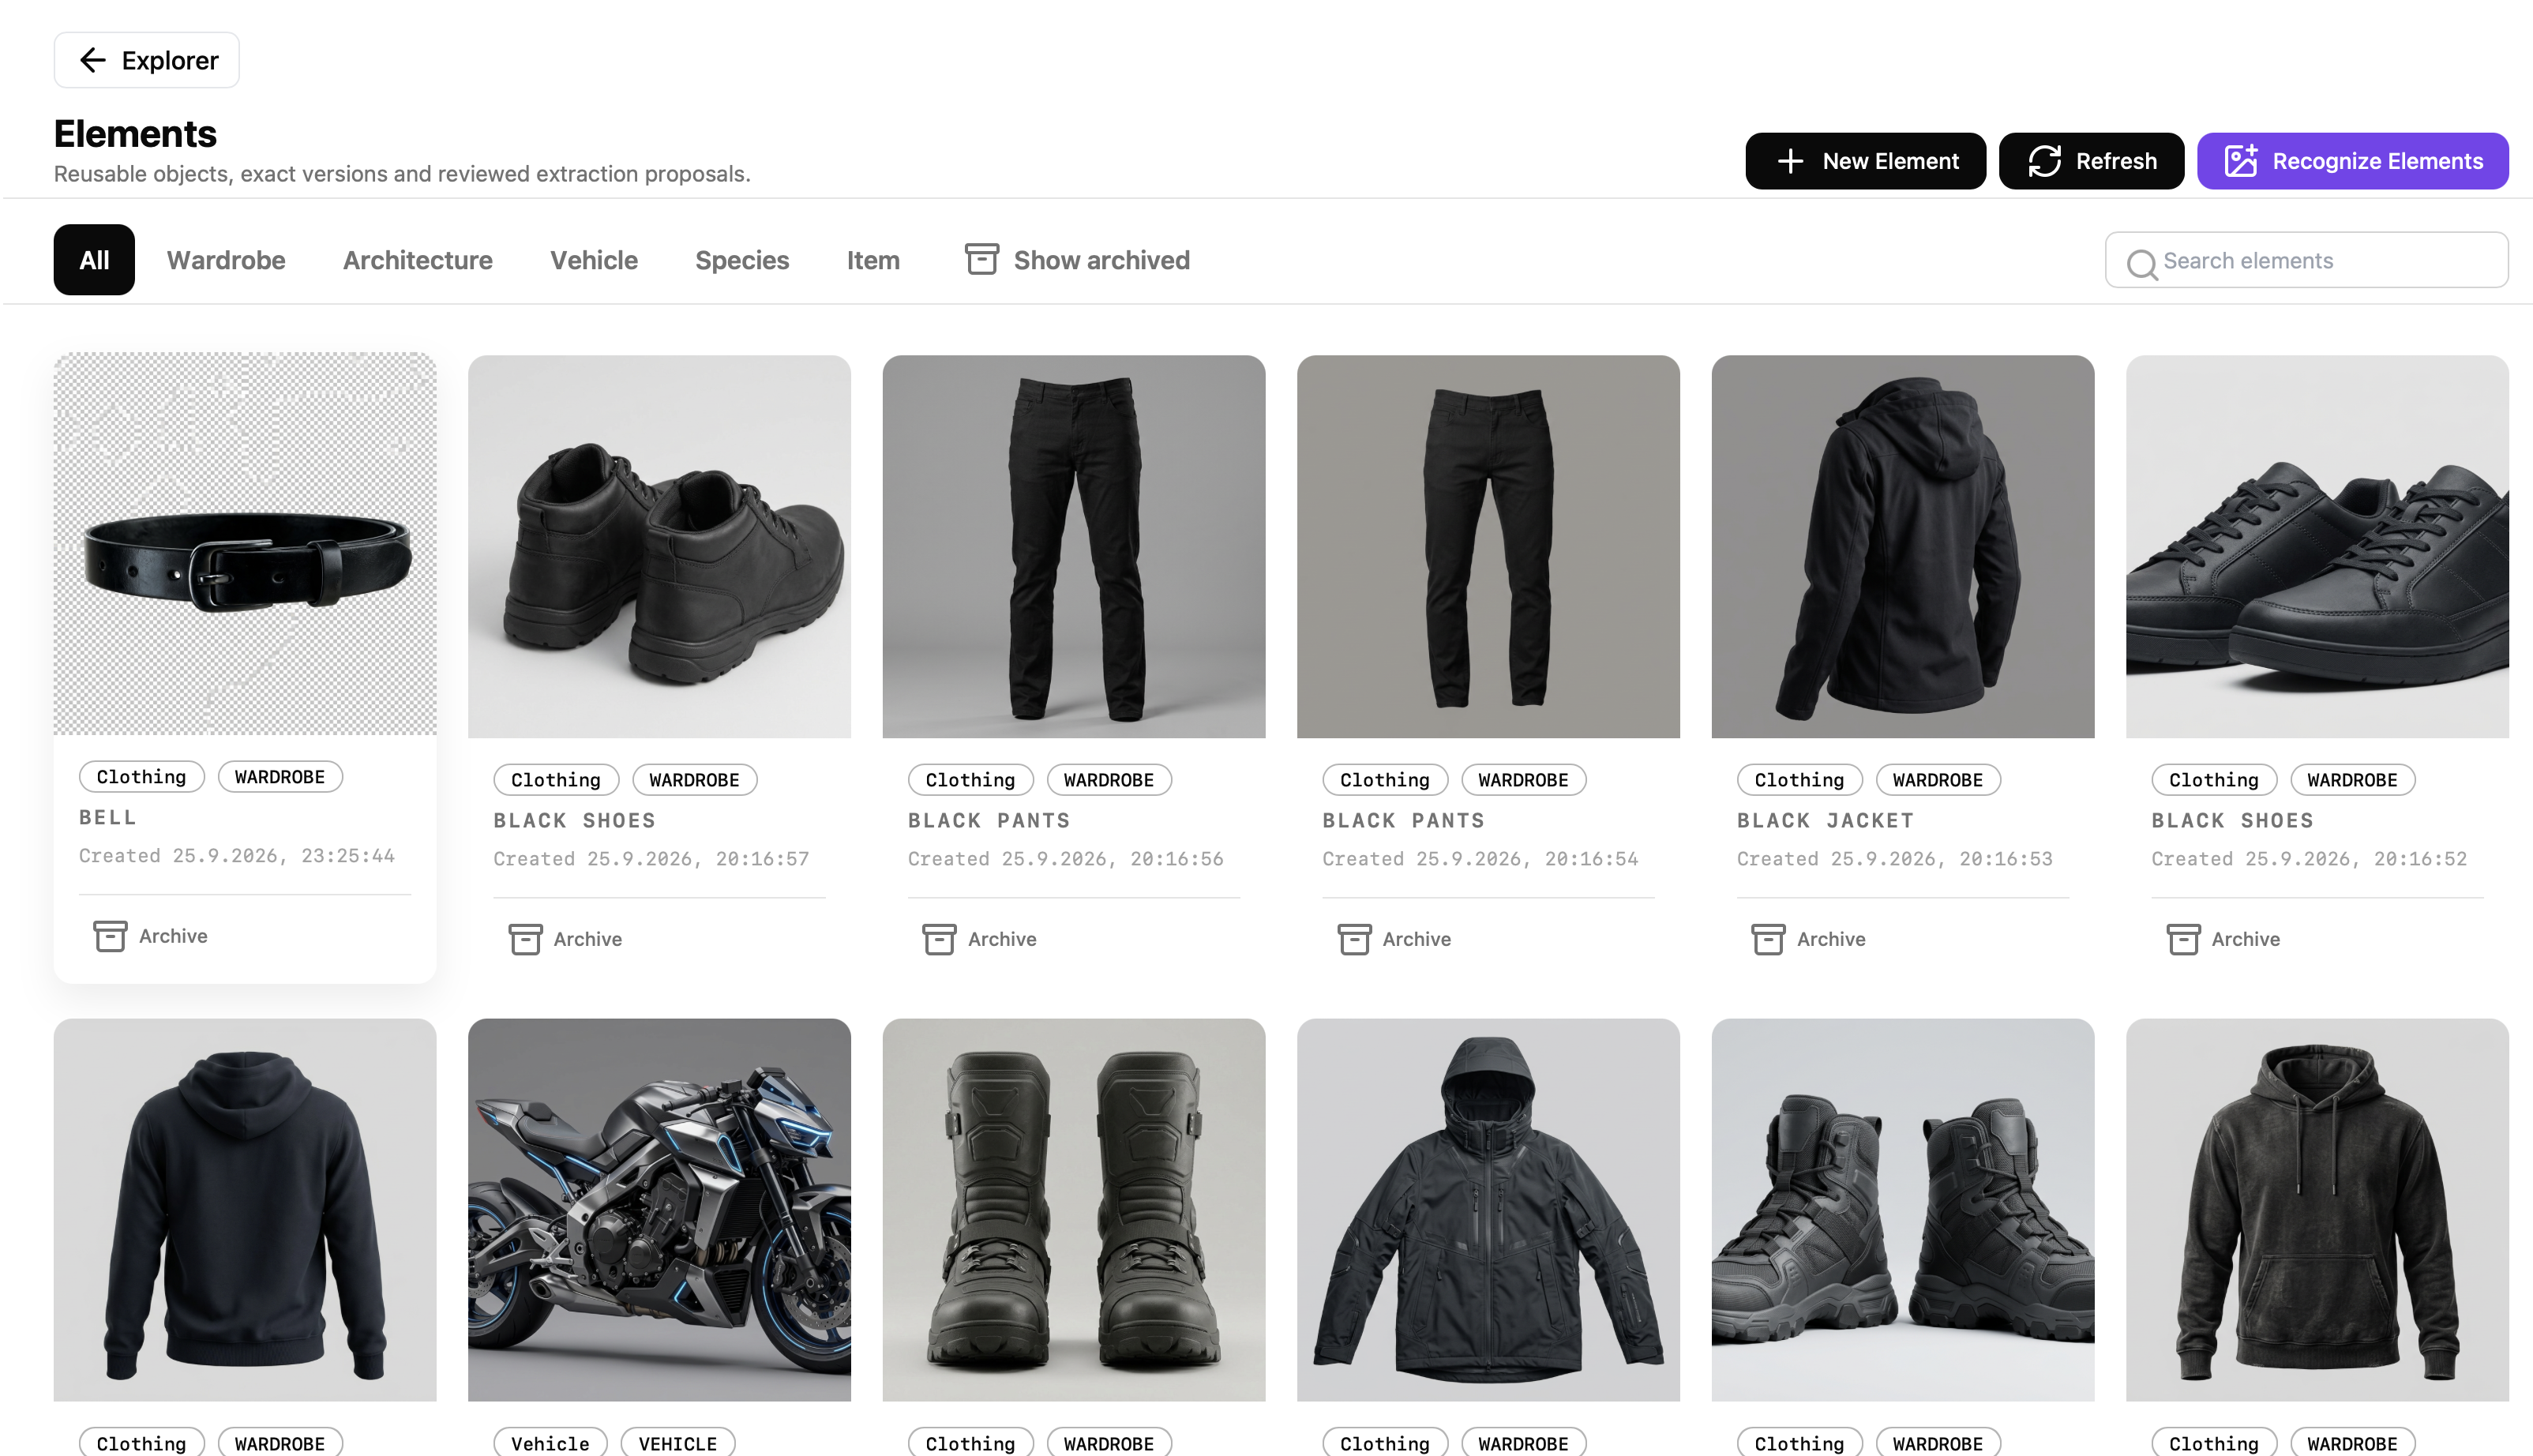
Open Elements in the Universe you are working in. Assets from that Universe and its connected sub-layers are collected centrally, so an Element can begin with a new upload or with media that already exists in the project.
Use Recognize Elements to derive reusable material from an image. Saganode can propose an element name, description, and type from the selected visual; creators review the proposal before it becomes a trusted part of the world.
2. Choose the right element type
Assign the element a type that explains how it should be used later. Current examples include:
- Wardrobe for clothing and wearables a character can use;
- Item for props, devices, tools, and meaningful objects;
- Vehicle for transport and designed machines;
- Species for biological or fictional kinds that shape character context;
- Architecture for reusable built environments and structural visual language.
The type is not a cosmetic tag. It gives a later Subspace or production task a clearer way to interpret what the Element represents.
3. Specify what must remain true
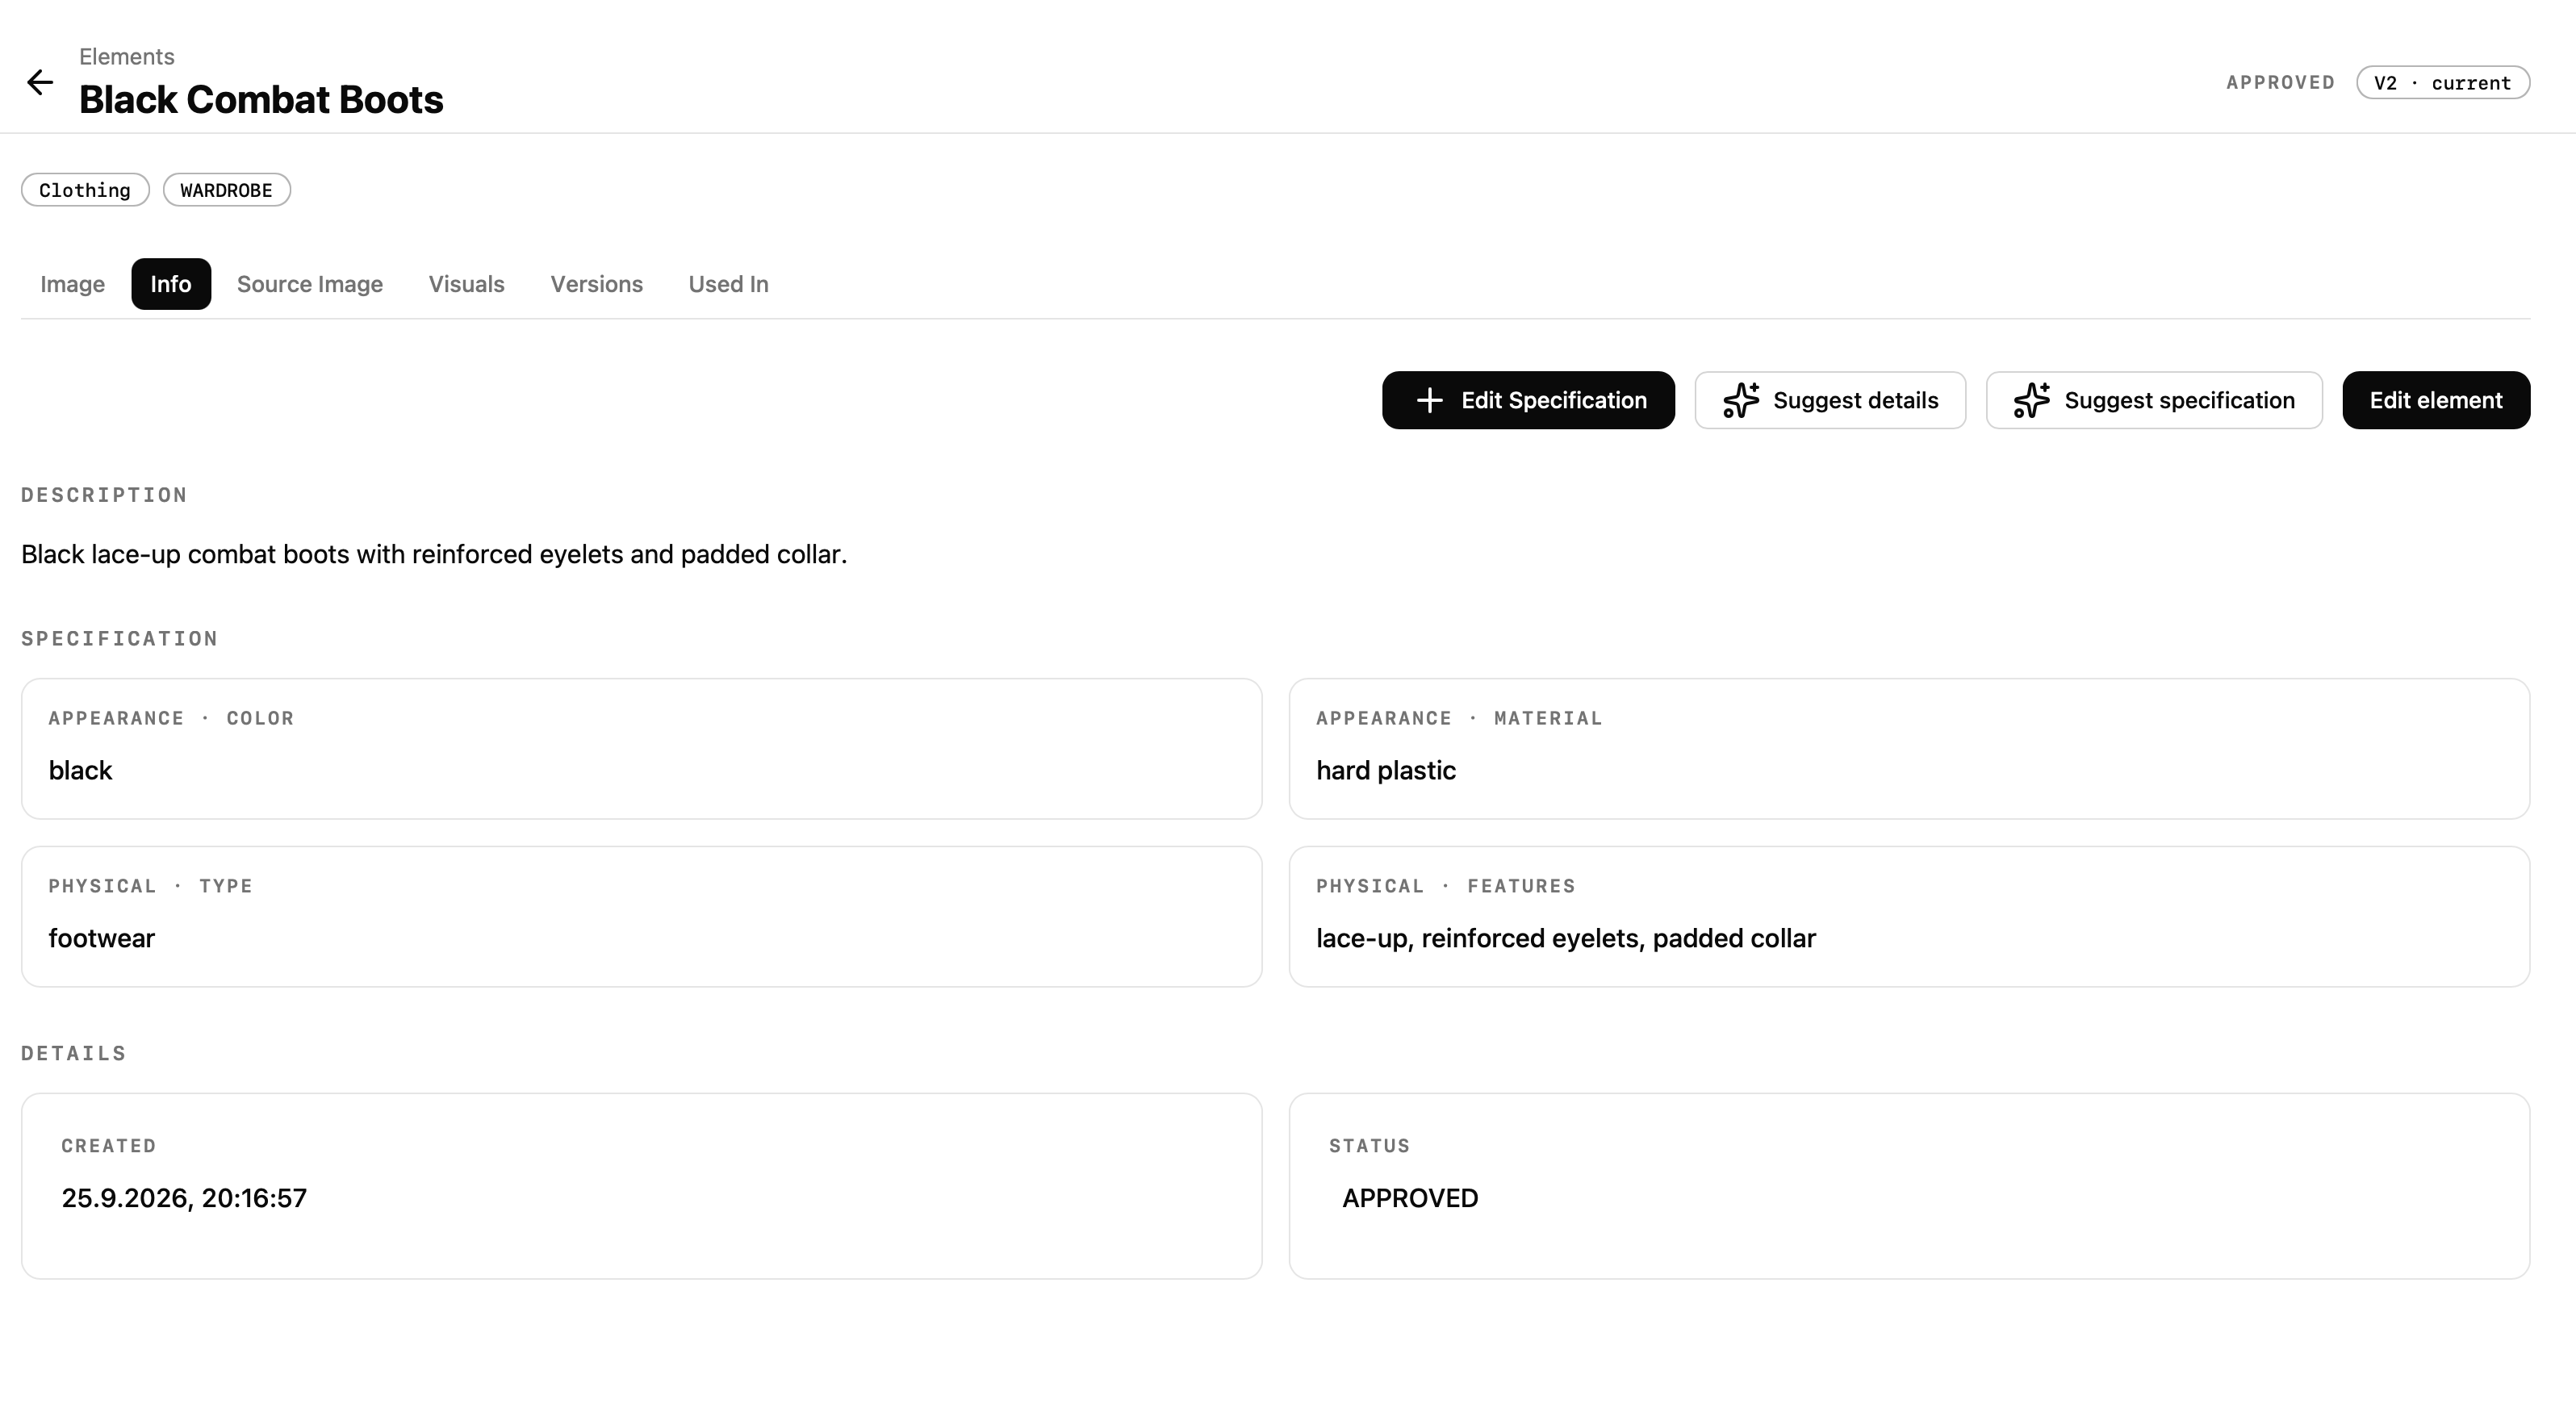
Open an Element to edit its description and specification. Specifications can hold structured details such as appearance, material, physical features, identity traits, temporal state, constraints, and capabilities. Add only the fields that help future work distinguish the Element from a generic visual result.
For example, a wardrobe Element may specify black, hard-wearing lace-up boots with reinforced eyelets and a padded collar. A species can carry the traits and behavioral context that an alien character should inherit or be assessed against later.
Use suggestions to accelerate the first specification, then review and refine it. When a change needs its own history, create a next version: the approved version and its existing references remain intact while the new draft can be assessed on its own.
4. Keep the source, visuals, and roles clear
An Element retains its Source Image, so the origin of a derived visual can be traced back to the original asset. In Visuals, add images from Assets or upload a new one. You can modify an image, blend selected images, or apply style transfer when a new variant is needed.
Use Define Image Role to describe how a visual should be used. A reference image can be marked, for example, as a front view and full-object framing. This prevents an arbitrary gallery image from silently becoming the visual instruction for later work.
5. Attach Elements in a Subspace
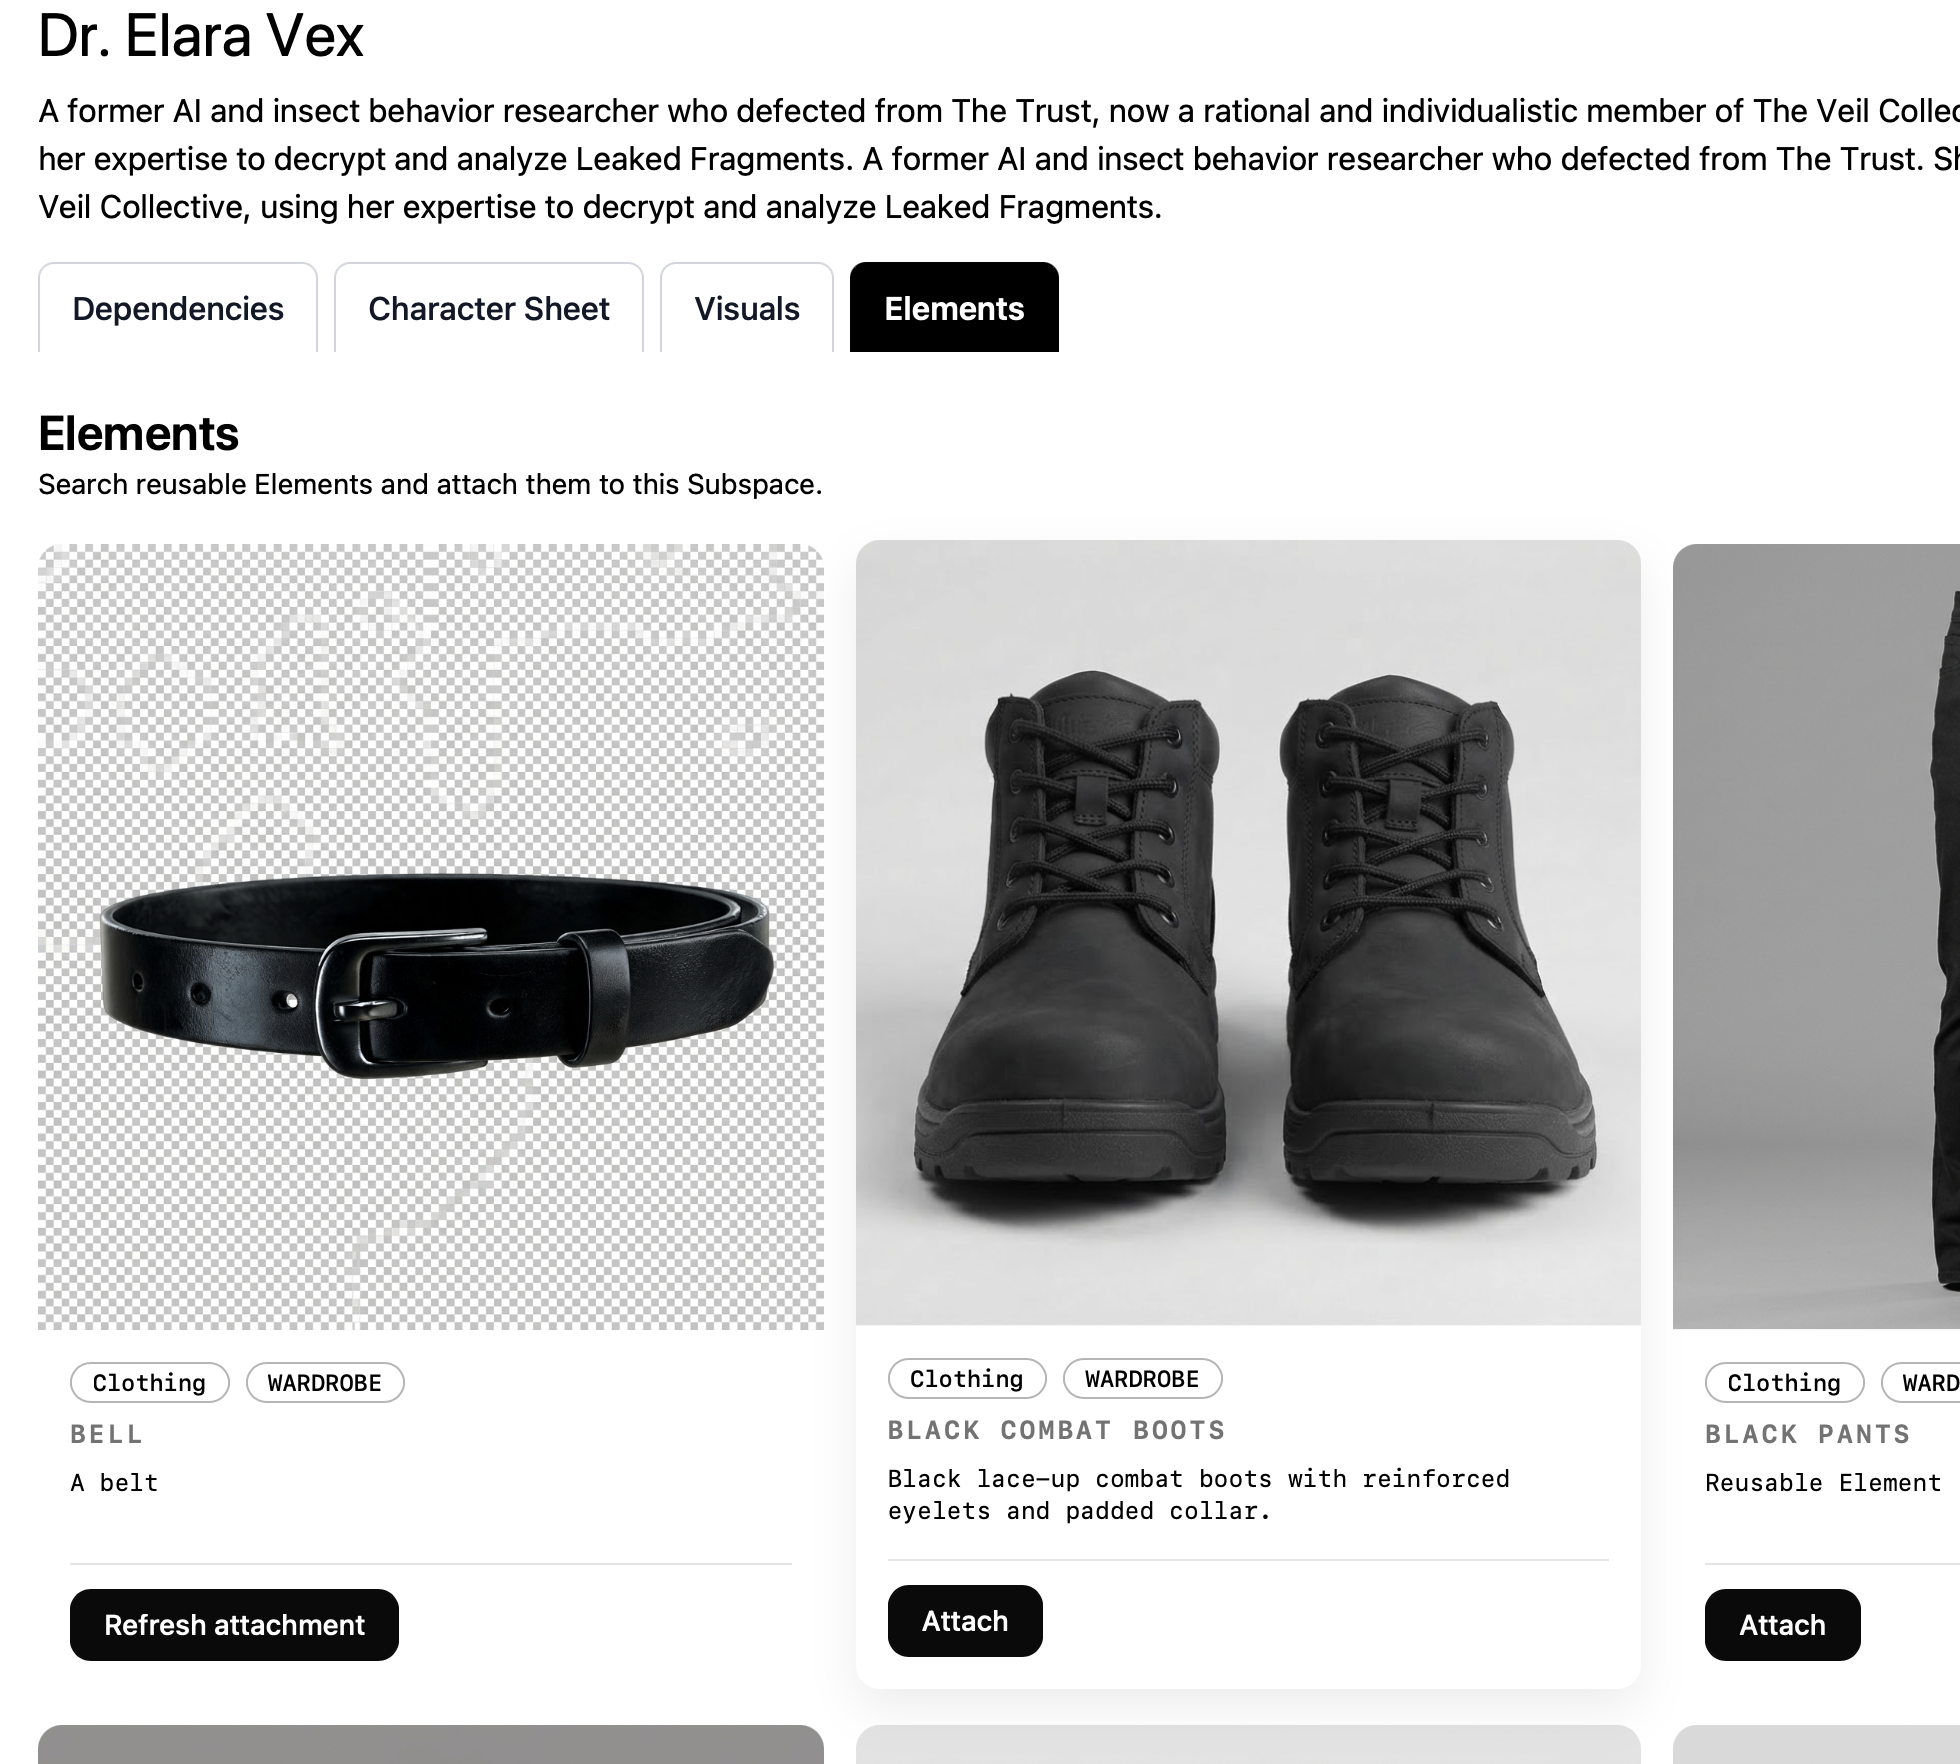
Open the relevant Character, Stage, Device, or other Subspace and use its Elements tab to search and attach reusable Elements. A character can be dressed with approved wardrobe Elements instead of recreating the clothing in every prompt or image.
The same principle applies to a species: attach it to an alien character so the character’s behavior, appearance, and narrative context can be developed against the shared species definition rather than invented independently in each scene.
6. Review use before changing the source
Use Used In to see where an Element participates in the project. If a change to boots, a vehicle, a species, or an architectural system would affect an existing character or sequence, create and review a new version instead of silently changing the approved source.
Next step
Read Working with Subspaces to turn attached Elements into production-ready character and scene work, or Managing Assets to review the asset library behind them.
Ready to start?
Build the next part of your world in Saganode.